 English
Step 1: Install Nginx
To install the current version of Nginx, simply follow the documentation on its offical website seen here or do the following commands:
Firstly we need to install ca-certificates so we can verify that we downloaded the correct file from a trusted source.
sudo apt install curl gnupg2 ca-certificates lsb-release
Then we need to add Nginx mainline package to our repositories
echo "deb http://nginx.org/packages/mainline/ubuntu `lsb_release -cs` nginx" \ | sudo tee /etc/apt/sources.list.d/nginx.list
Now verify that we downloaded the correct file
curl -fsSL https://nginx.org/keys/nginx_signing.key | sudo apt-key add -
If it prints out OK! then you are good to go!
Now that we have downloaded & verified its authnicity lets install it!
sudo apt update
Install Nginx.
sudo apt install nginx
That’s it! You have now installed the latest release of Nginx. You should now start it!
sudo systemctl start nginx.service
and make it start on reboot.
sudo systemctl enable nginx.service
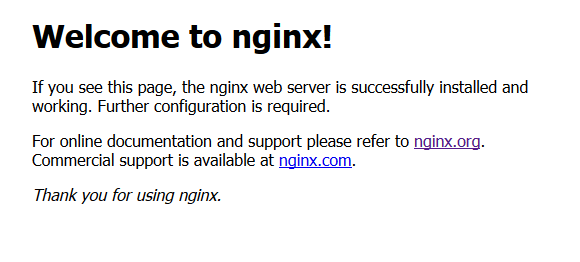
Visit your servers IP address in your webbrowser. You should now see something along these lines if it is working correctly.
Step 2: Install MariaDB
To install the server & client:
sudo apt-get install mariadb-server mariadb-client
Enable it on restart:
sudo systemctl enable mysql.service
Start MariaDB:
sudo systemctl start mysql.service
Setup MariaDB:
sudo mysql_secure_installation
You will now be prompted with a configuration setup file. Please read through it and configure it to your liking. It is recommended to disable logins that are not from localhost.
- Enter current password for root (enter for none): press Enter
- Set root password? [Y/n]: Y
- New password: Enter password
- Re-enter new password: Repeat password
- Remove anonymous users? [Y/n]: Y
- Disallow root login remotely? [Y/n]: Y
- Remove test database and access to it? [Y/n]: Y
- Reload privilege tables now? [Y/n]: Y
Step 3: Create your Database
After this you may create your database for Joomla.
Login into MySQL:
sudo mysql -u root -p
You can create your database by running the following commands. We will call it joomla although you are free to call it whatever you want.
CREATE DATABASE joomla;Create a new user:
CREATE USER 'joomla'@'localhost' IDENTIFIED BY 'password_here';Assign the user to the joomla database
GRANT ALL ON joomla.* TO 'joomla'@'localhost' IDENTIFIED BY 'password_here' WITH GRANT OPTION;Remember to change password_here with your actual password.
Exit and flush:
FLUSH PRIVILEGES;
EXIT;
Step 4: Install PHP 7.3
To add the repositories for PHP:
sudo apt-get install software-properties-common
To add the 2nd repository:
sudo add-apt-repository ppa:ondrej/php
Run this to download your added repositories:
sudo apt update
We can now install PHP now that we have all of the required repositories.
sudo apt install php7.3-fpm php7.3-common php7.3-mysql php7.3-gmp php7.3-curl php7.3-intl php7.3-mbstring php7.3-xmlrpc php7.3-gd php7.3-xml php7.3-cli php7.3-zip
It is recommended to raise the memory limit and disable cgi.fix_pathinfo. Your PHP configuration is located in/etc/php/7.3/cli/php.ini.
sudo nano /etc/php/7.3/cli/php.ini
Press
Replace it with memory_limit = 256
Press
Replace it with cgi.fix_pathinfo=0
Save & exit by pressing
Step 5: Download & Extract Joomla
Switch over to your temporary directory
cd /tmp
Download the latest version of Joomla, currently being 3.9.5
wget https://downloads.joomla.org/cms/joomla3/3-9-5/Joomla_3-9-5-Stable-Full_Package.tar.gz
Make a new directory called joomla
mkdir /usr/share/nginx/html/joomla
Extract the files to your /usr/share/nginx/html/joomla
sudo tar -xvzf Joomla_3-9-5-Stable-Full_Package.tar.gz -C /usr/share/nginx/html/joomla
Step 6: Configure Nginx
Add nginx to www-data group
sudo usermod -a -G www-data nginx
Change owner of directory to www-data
sudo chown -R www-data /usr/share/nginx/html
Go into your default.conf file
sudo nano /etc/nginx/conf.d/default.conf
Replace your existing configuration file with the one below
server {
    listen       80;
    server_name  localhost;

    root   /usr/share/nginx/html/joomla;
    index  index.php index.html index.htm;

   location / {
    if ($request_uri ~ ^/(.*)\.html$) {
        return 302 /$1;
        }
    }

    error_page   500 502 503 504  /50x.html;
    location = /50x.html {
        root   /usr/share/nginx/html;
    }
        location ~ \.php$ {
        fastcgi_split_path_info ^(.+\.php)(/.+)$;
        fastcgi_pass   unix:/var/run/php/php7.3-fpm.sock;
        fastcgi_index  index.php;
        fastcgi_param  SCRIPT_FILENAME $document_root$fastcgi_script_name;
        include        fastcgi_params;
    }

}
Step 7: Setup Joomla
Open up your webbrowser and navigate to your IP/Domain. Once here you should see something like this:

Configure your installation and click next.
On the next screen enter your username, database name and password.

Click Next and continue to the next step.
You are almost done! All you have to do now is to click install and wait for it to install.
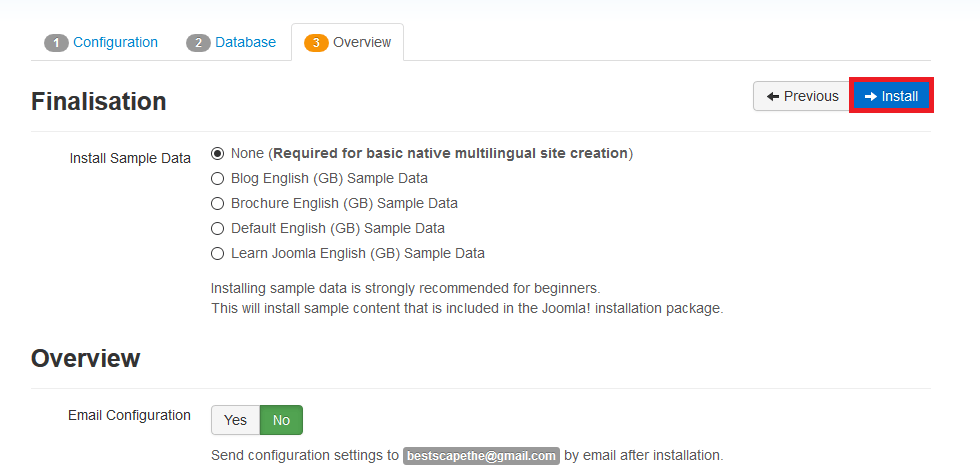
Congratulations. You have now installed Joomla!
