 English
Step 1: Download & Install Wamp
Navigate to WampServer’s website and download the latest version.
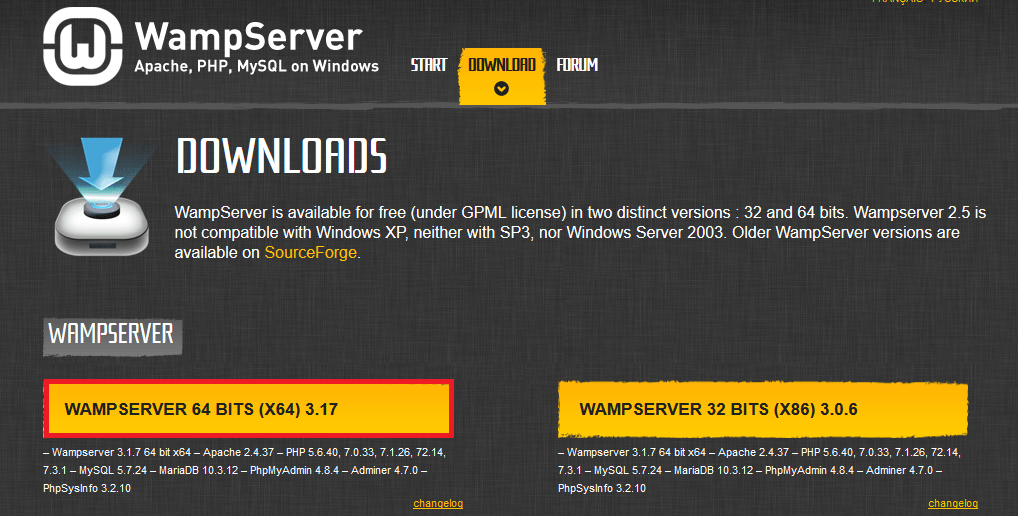
If you are using a 64 bits system then select the one marked with red, otherwise select the other one.
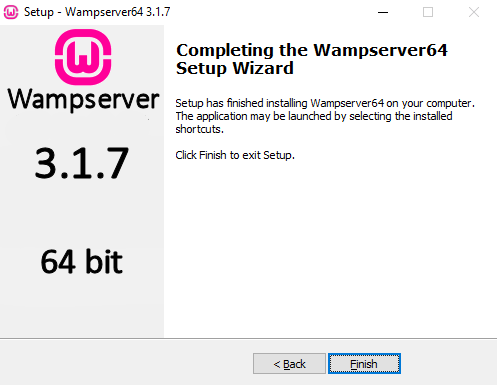
Once downloaded run the installer, and click continue until it starts installing. One installed you should see something along these lines:
Step 2: Download and Extract Joomla
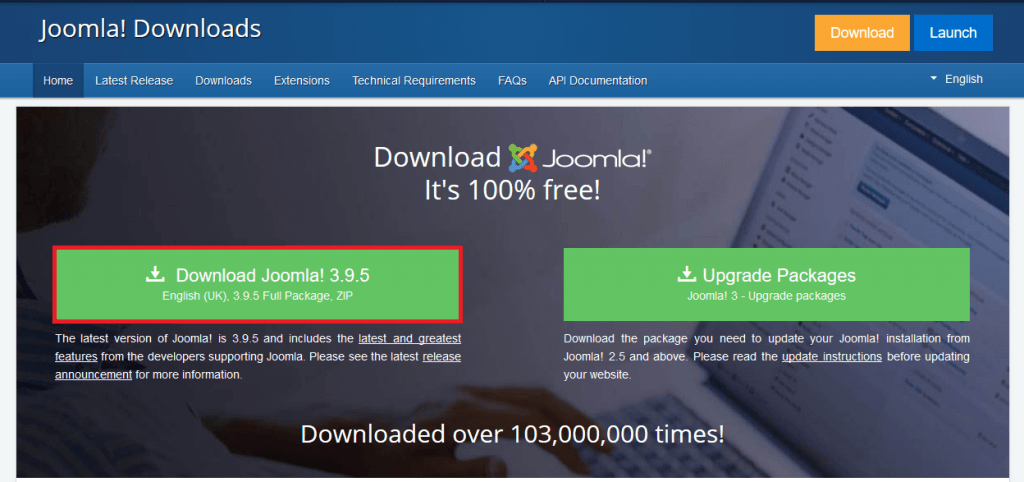
Navigate to downloads.joomla.org and select the download Joomla button.
Once downloaded open the Zip file with WinRAR and extract it to your htdocs directory. Your htdocs directory is located in C:\wamp64\www.
Click Extract To
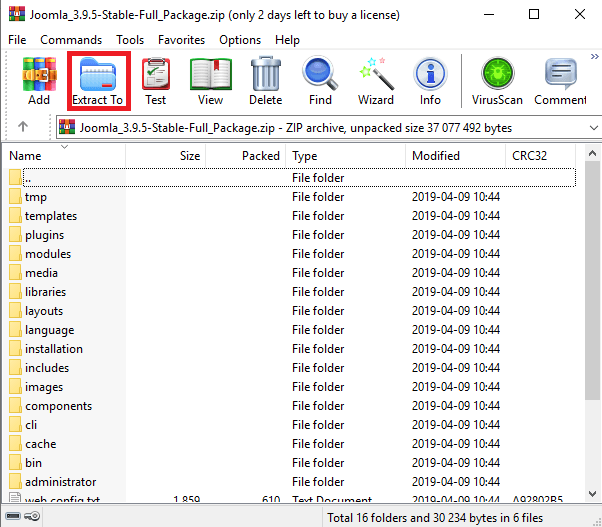
Enter C:\wamp64\www like I have done below:
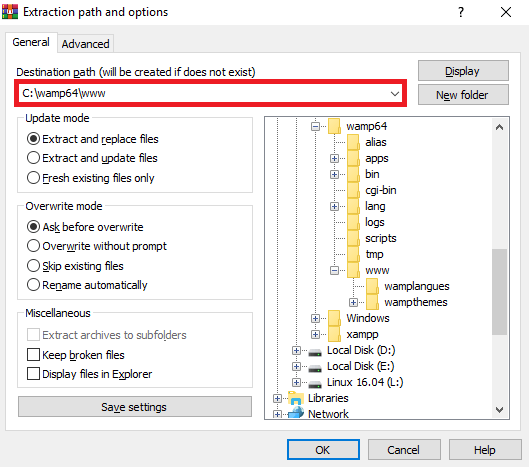
Then press
Step 3: Install Joomla
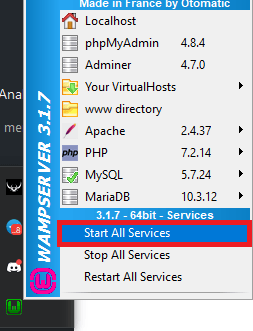
First of all make sure that your Wamp server is online. Click the show hidden icons on windows and look for a W. If the W is green then it is online, otherwise click on it and select start all services.
Open up your webbrowser and navigate to http://localhost/. Once here you should see something like this:

Configure your installation and click next.
Step 4: Setup Database
Here you got two options. Method 1 is to setup the database with Wamp, or you can setup your database at a linux server. In this tutorial we are going to cover the easiest, and that is to have everything in one place.
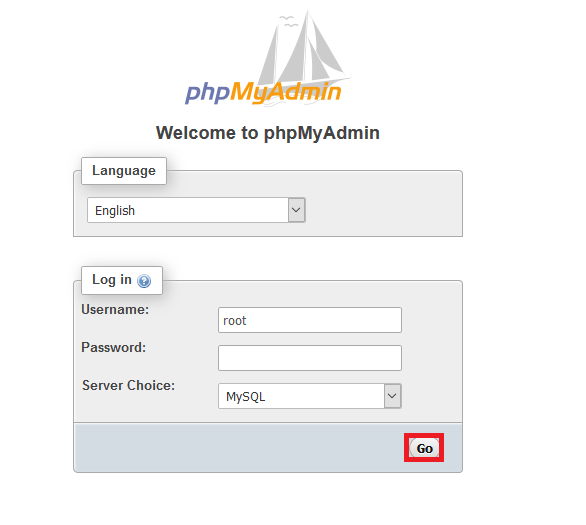
Open http://localhost/phpmyadmin in your browser. If you have to login the default username is root. Leave the password box empty and click on go
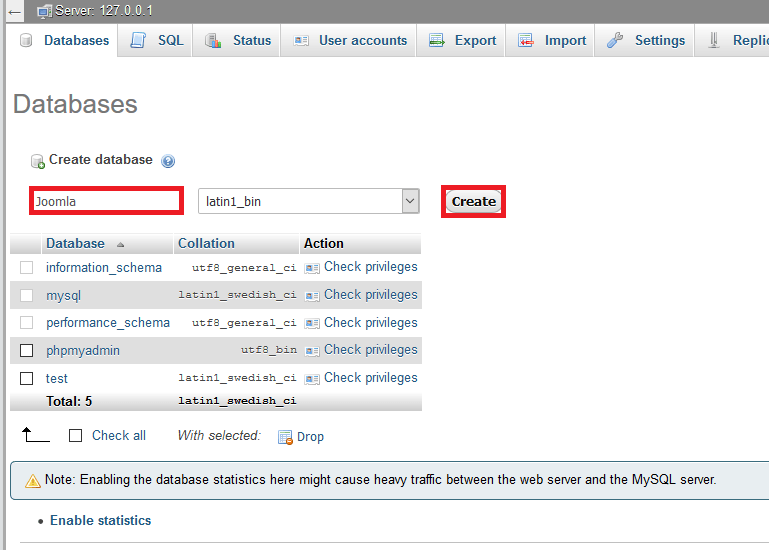
To setup your database navigate to http://localhost/phpmyadmin/server_databases.php
Type the name of your database in the first red marked box as seen below and click create. In this tutorial I am going to call this database Joomla.
Go back to your installation page and fill out the forms:

- Host Name: localhost
- Username: root
- Password: leave empty
- Database Name: Joomla
Click Next and continue to the next step.
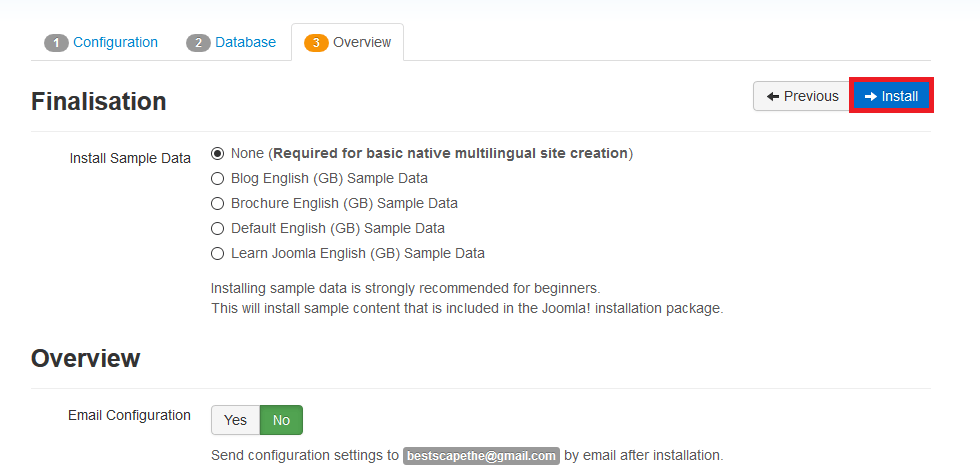
You are almost done! All you have to do now is to click install and wait for it to install.
Congratulations. You have now installed Joomla!
