 English
 Swedish
When authenticating against the public API, you use an API key. You can create as many keys as you like, and we recommend creating one API key for each service you integrate with.
Example command:
curl -H "Authorization: Bearer YOUR_API_KEY" \
  https://cloud.hostup.se/api/hosting-accounts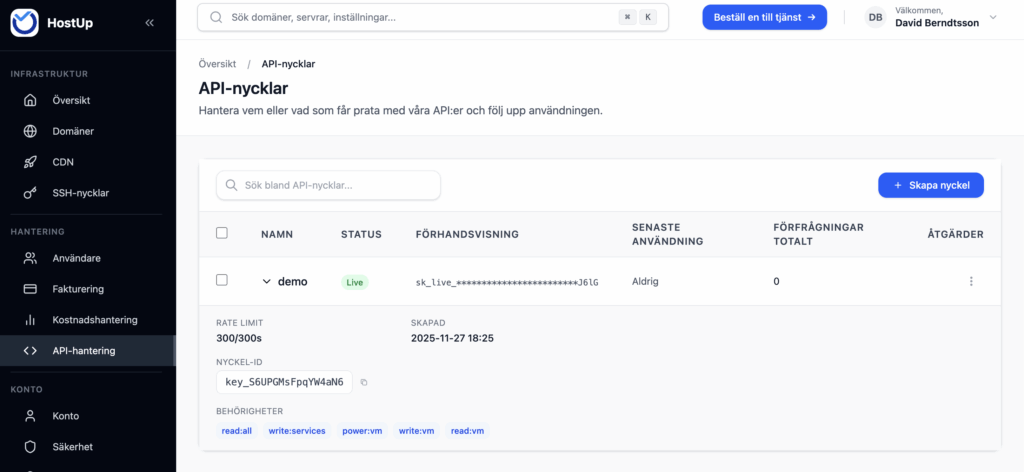
Limited permissions
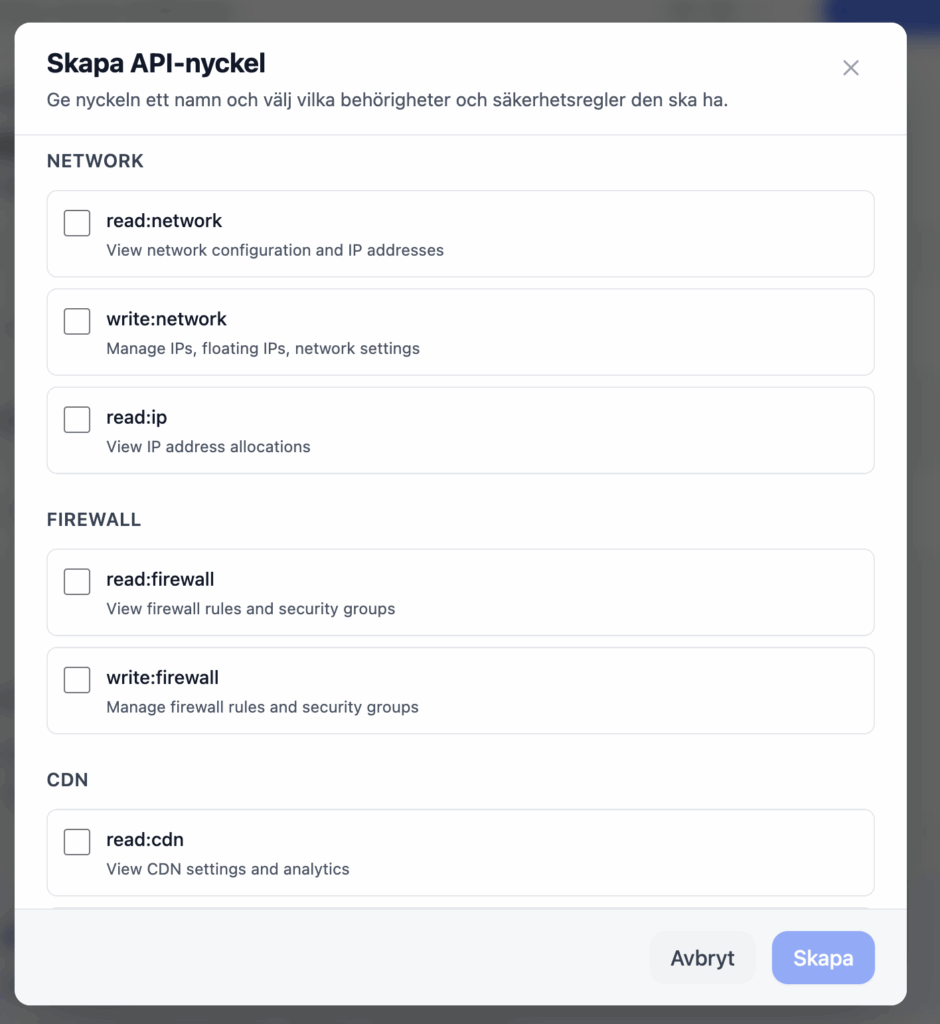
If you only want to grant an API key permission to perform certain tasks through the API—such as managing DNS records—you just need to assign the scopes required for that.
API documentation
You can find our API documentation at https://cloud.hostup.se/api-management. It is currently only available once you’re logged in. The documentation is somewhat limited right now, but one very useful thing to know is that our customer portal uses the exact same API that you, as a developer, have access to.
That means that if you open your browser’s dev console, you can see how the API is being used and which endpoints are available.
A good example of this is that, when I opened the window to configure permissions, an API call was made to https://cloud.hostup.se/api/keys/scopes. There I can see exactly what the page retrieves from the backend to create the layout you’re seeing on the screen.

Example: Stop a VPS
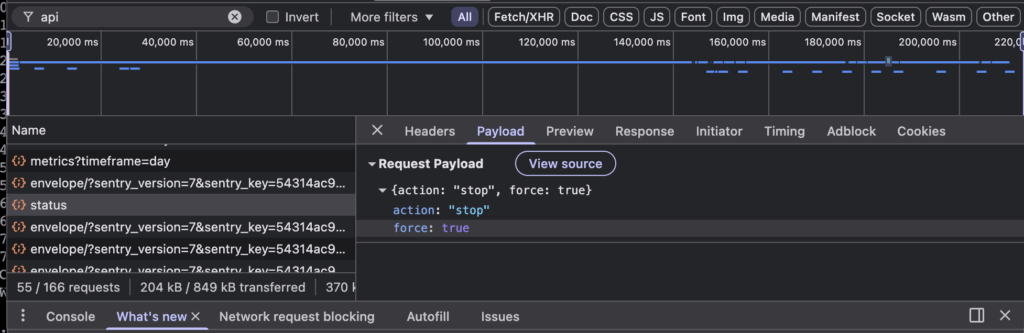
With the browser console you can figure out absolutely everything. If you try stopping your VPS in the control panel, the browser’s dev console shows you exactly what’s going on. In this case a POST request is sent to https://cloud.hostup.se/api/vm/16793/status with the payload
{action: “stop”, force: true}. Armed with this information, we can craft and test a curl request against the API directly from the terminal:
curl -X POST 'https://cloud.hostup.se/api/vm/16793/status' \
  -H 'X-API-Key: YOUR_API_KEY' \
  -H 'Content-Type: application/json' \
  -d '{"action": "stop", force: true}'
In response, I got back:
{
    "success": true,
    "timestamp": "2025-11-27T17:32:05.199Z",
    "requestId": "9098d7b0-4cff-40c2-bc43-964500cbde6e",
    "data": {
        "success": true,
        "action": "stop",
        "jobId": "stop-16793-1764264725196",
        "message": "stop operation queued",
        "estimated_time": 30
    }
}
This is exactly what makes things so much easier for our developers. Because our control panel uses the very same API you have access to, neither of us needs to reinvent the wheel. You also don’t have to rely on poor or outdated API documentation, since you can always open the browser console to see precisely how the API works.
Example 2: Manage automatic SSL renewal via ACHME
We’ve created a plugin for acme.sh:
https://github.com/hostup/acme.sh/blob/9980ad0fef9634b105c59711dd5f470a4b35f080/dnsapi/dns_hostup.sh
The code above gives you a few more examples of how to use our API.