 English
 Swedish
In most cases, you can manage firewall settings inside your VPS using ufw or iptables. However, you can also configure firewall rules outside your VPS so that traffic is blocked before it reaches your VPS.
Step 1: Log in to the customer portal
- Visit our customer portal and log in with your login details.
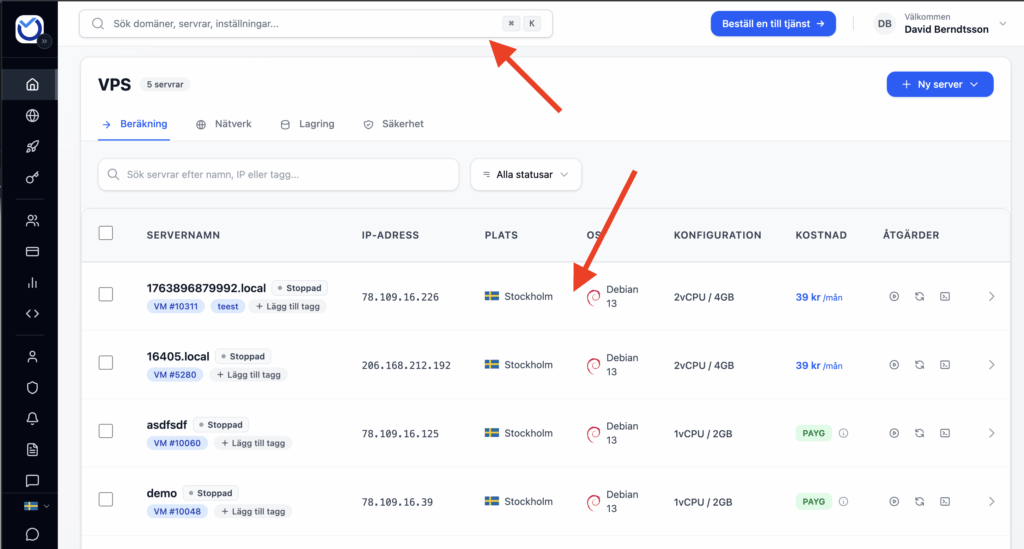
Step 2: Navigate to the Virtual Server overview
- After logging in, navigate to your VPS by either tapping it in the table or searching for it.
Step 3: Navigate to Firewall Settings
- In the top menu, click on “Firewall”:
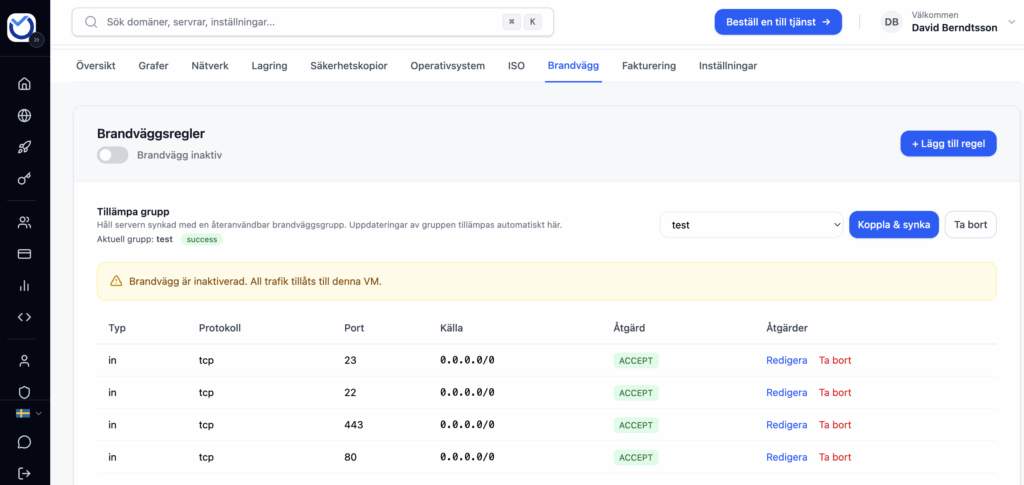
Step 4: Configure the firewall
- On this page you can add different rules. We recommend that you allow all IP addresses and protocols that you know you need first.
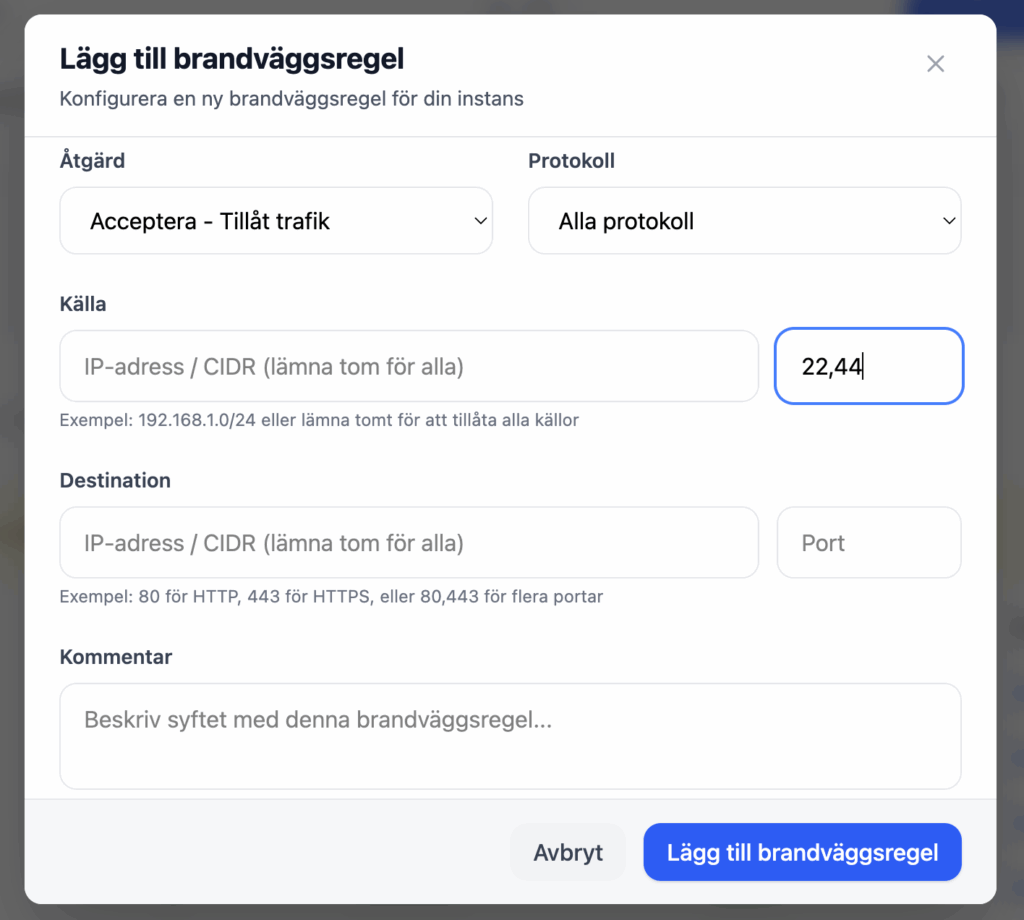
Configuration rules
- If you want to allow multiple ports, such as 22, 443 and 80 in the same rule, simply enter 22,443,80 in the port field
- If you want to allow a port range such as 1024-65565, enter 1024:65565 in the port field
Step 5: Activate the firewall
- Once you have configured all the rules, the next step is to enable the firewall
- It’s easy. Click on the slider menu as shown in the image below to either enable or disable the firewall.

- This will ensure that only rules for allowed IP addresses / protocols will be allowed while everything else will be rejected by the firewall.
- If you experience any problems after this change, you can change it back at any time.
Was this article helpful?
Tack för din feedback!