 English
 Swedish
Step 1: Log in to the customer portal
- Visit our customer portal and log in with your login details.
Step 2: Navigate to the Virtual Server overview
- After logging in, navigate to your VPS by either tapping it in the table or searching for it.
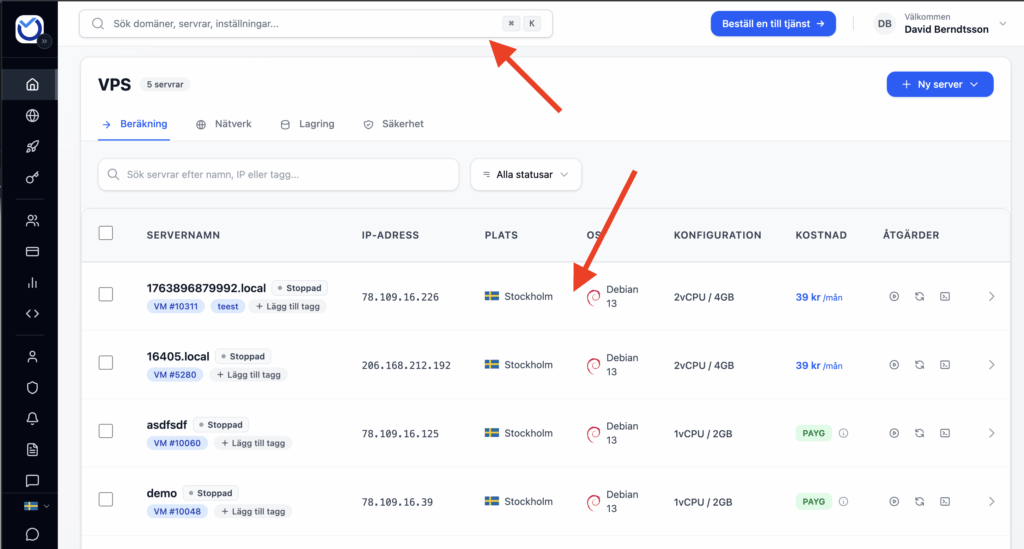
- Under the “Network” category you can manage everything related to this area.
- Here you can add both new network interfaces and assign them IP addresses, but also manage IP allocation on your current interface.
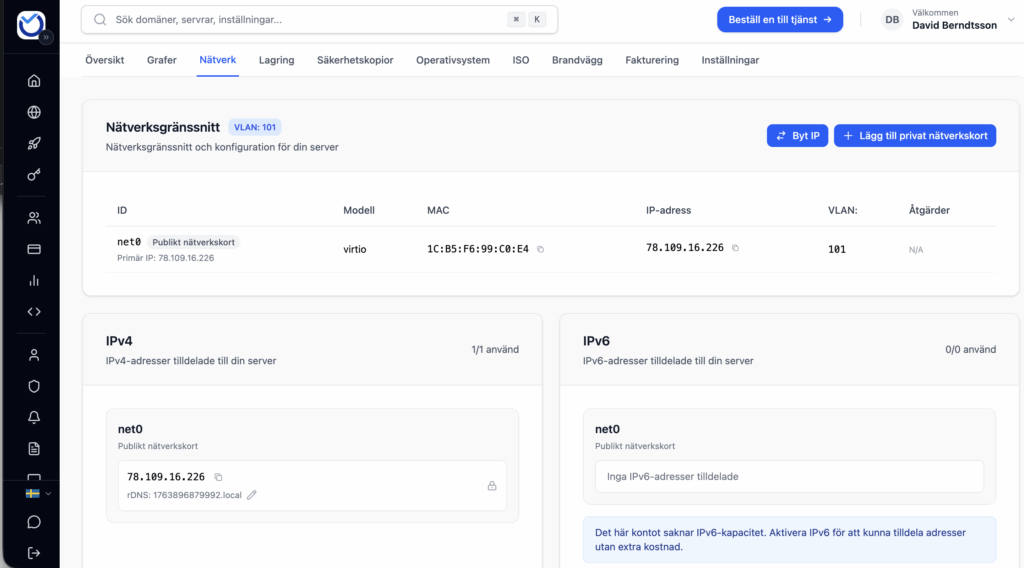
Add extra IPv4 to the network interface
Adding IP addresses is easy. Click the “Assign new IP address” button to add an IP from your available pool. Note that only one IPv4 address is included by default. You can easily buy additional IPv4 addresses as an add-on. Extra IPv4 addresses cost 20 SEK/month.
Note: When you add an additional IP in the portal to an existing network interface, it is not automatically added inside the VM—only the primary IP is. This simply allows the MAC address of that interface to use the extra IP. To quickly add it to your interface, run something like the command shown below. Replace 95.141.241.3/24 with your additional IP. It will only stay in place until the next reboot. For a more permanent solution, consider creating a bash.sh script and adding it to your crontab -e with the @REBOOT parameter, or modify the network configuration file.
ip addr add 95.141.241.3/24 dev eth0
Change IPv4 to another IP
If, for any reason, you want to change the IPv4 address on your current VPS, it’s just as simple. Click the “Change IPv4” button shown in the first image, then choose the network you’d like the new IP to come from.
