 English
 Swedish
Creating an email account in cPanel is a simple process. Follow these steps to quickly and easily set up a new email account for your domain.
Step 1: Log in to cPanel
First, you need to log in to your cPanel account. You can do this by entering yourdomain.com/cpanel in your web browser and providing your login credentials.
You can find your username and password in the email with the subject Get Started with Your Web Hosting. You received it when you purchased your web hosting.
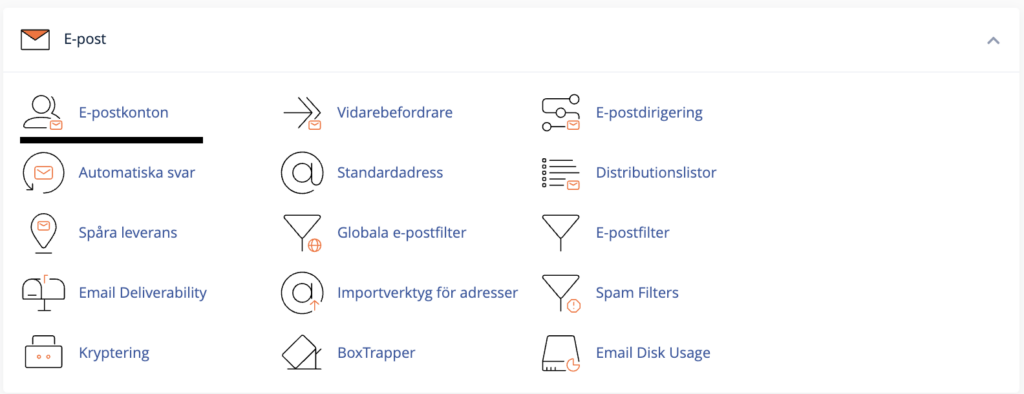
Step 2: Navigate to Email Accounts
- Once you are logged in, locate the Email section on your cPanel homepage.
- Click on the icon or link that says Email Accounts.
Step 3: Create a New Email Account
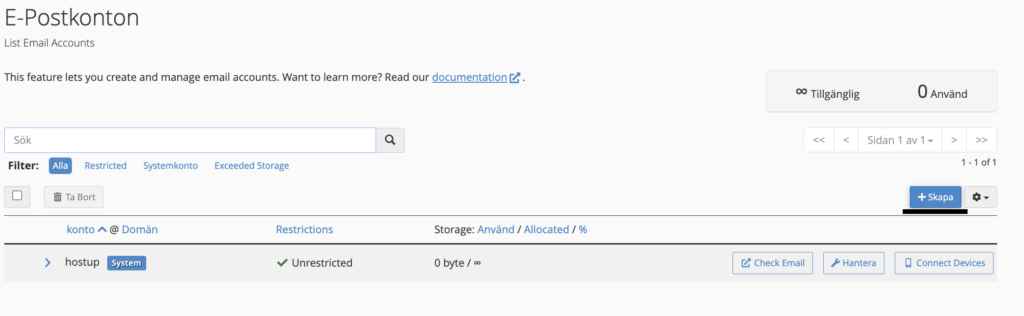
- In the Email Accounts section, click on Create at the top right.
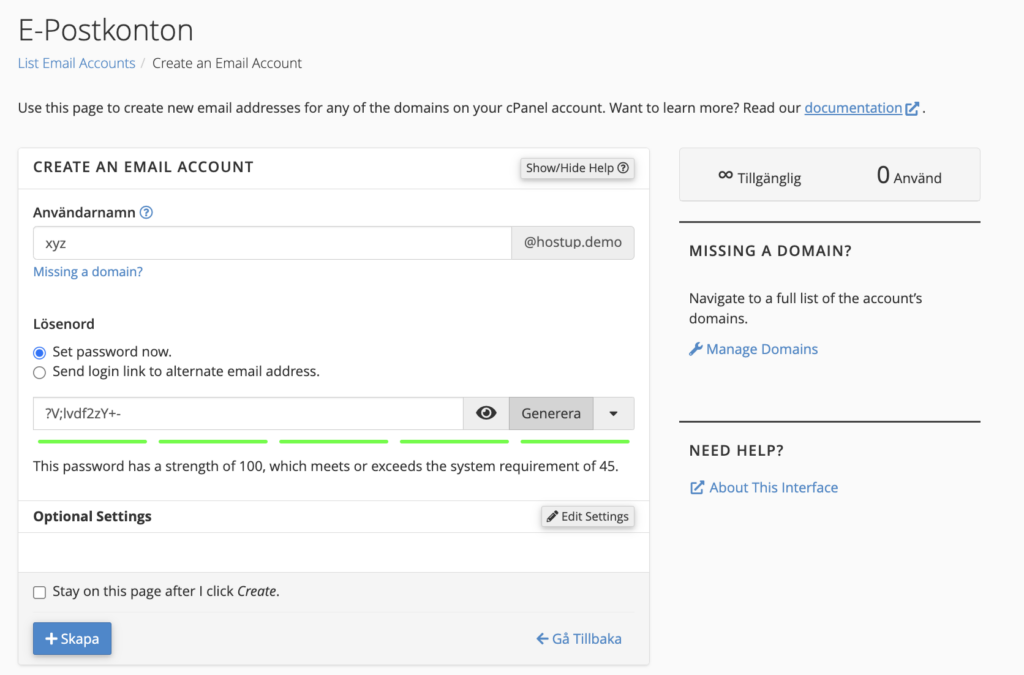
- Fill in the required information for the new email account:
- Email: Enter the desired email address (for example, [email protected]).
- Password: Choose a secure password for the account.
- Mailbox Quota: Specify the size of the mailbox or select ‘Unlimited’ if you do not want any limits.
- Click on the Create button to create the email account.
Step 4: Confirm the creation of the email account
After clicking Create, you should see a confirmation that your new email account has been successfully created at the top right.
You can now log in to your email account via webmail by visiting yourdomain.com/webmail in your browser.
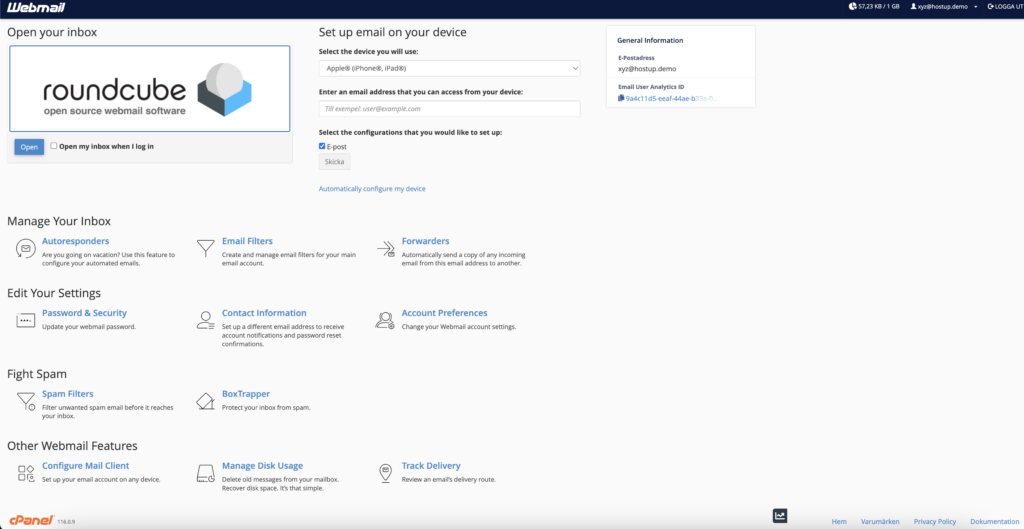
Step 5: Manage your new email account
When you have logged in to webmail, you’ll have the opportunity to make numerous settings adjustments including:
- Change Password
- Set up Email Forwarding
- Retrieve IMAP/SMTP Information to Configure the Email Account in Mail, Outlook, Thunderbird, and Any Other Mail Programs
You have now created an email account for your domain through cPanel. If you encounter any problems or have questions, please feel free to contact our support team.