 English
 Swedish
Log in to the customer portal
- Visit our customer portal and log in with your login details.
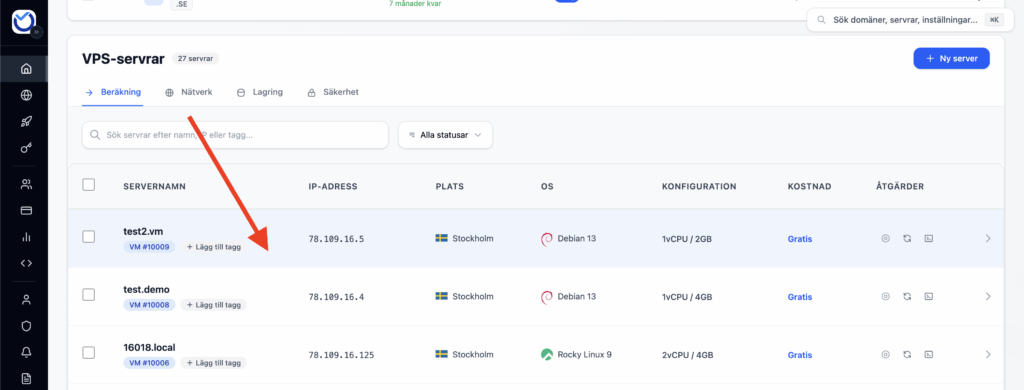
Select the VPS you want to manage
- Select the VPS you want to access the control panel for by pressing the gear wheel highlighted in the image below:
Upload your own ISO file or use Netboot.
- Once inside the VPS control panel, navigate to “ISO List” at the top of the page navigation menu as shown in the image below.
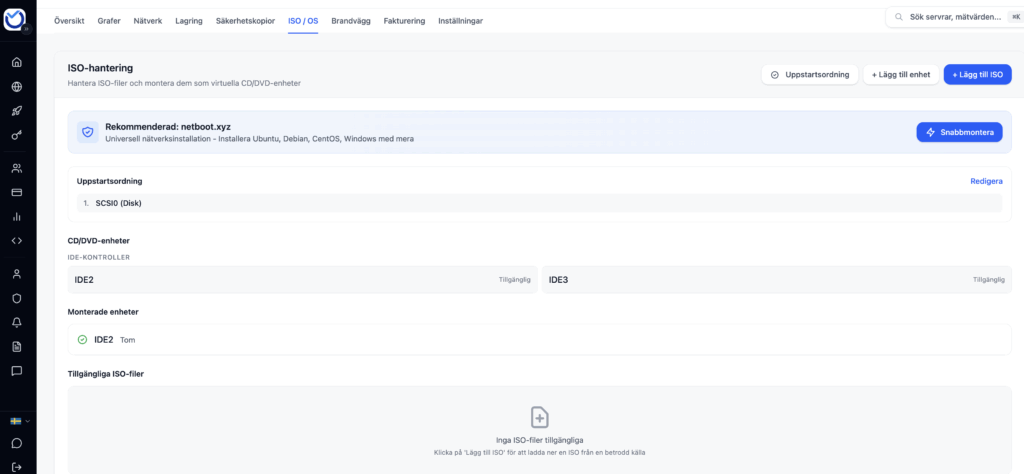
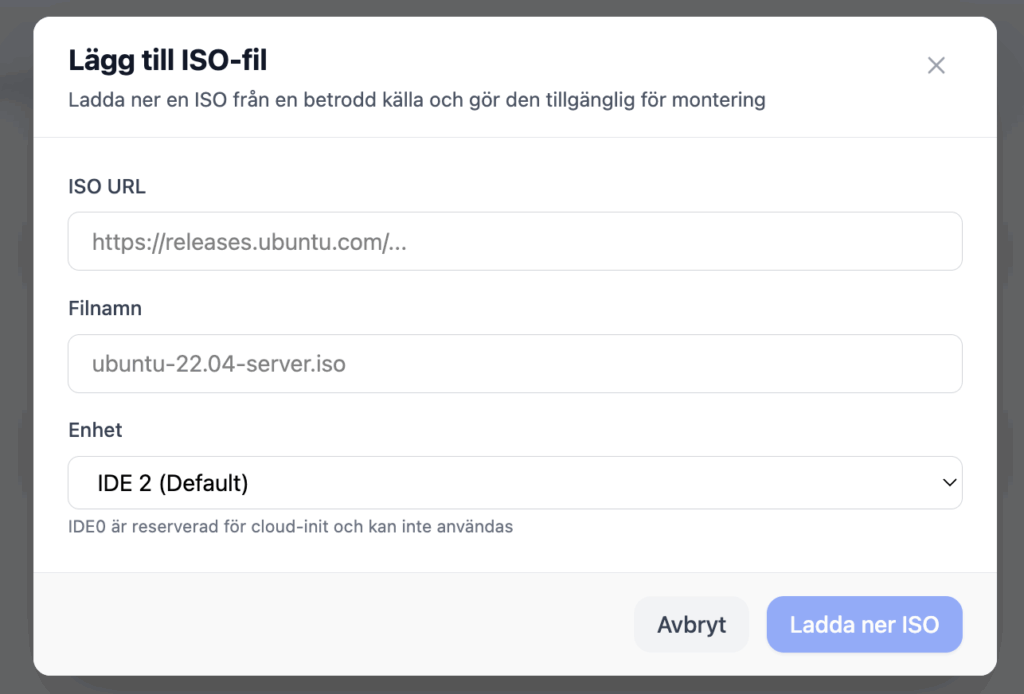
- Press the “Add ISO” button to upload your own ISO.
- If you enter the URL to the ISO file, but it doesn’t work, try again using a different mirror.
- You can also try using Netboot which is a kind of all-in-one iso. With this you will get a prompt later whether you want to install Ubuntu, Debian or 50+ other operating systems.
- We recommend that you use Netboot. You get access to static DHCP IP with us, which makes it really smooth and you don’t have to configure the network.
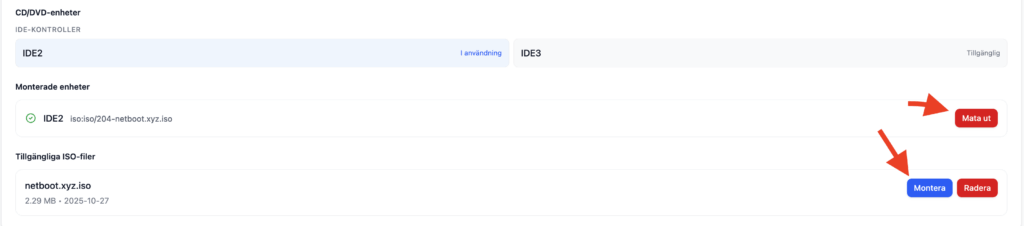
Mount ISO
- Press the “Mount” button to mount the ISO or “Eject” to eject the disk. This will not reboot your VPS or change the boot order.
Change the boot order
Before rebooting your VPS, make sure to change the boot order so that the CD/DVD drive is first.

Once that’s done, you’re ready to begin installing your new operating system using the mounted ISO. Reboot the server and open the console to complete the process. When the installation is finished, eject the ISO.
Was this article helpful?
Tack för din feedback!