
Install Ghost on your web hosting
Checked against the client area 11 November 2026
You install Ghost on your web hosting from cPanel, on the Ghost CMS page. You choose a domain or subdomain and click one button. The database is created for you.
Web hosting runs Ghost up to version 6.23 right now. For a newer version you need a VPS.
Open your web hosting in the client area
Before you start
Section titled “Before you start”Ghost answers on the whole domain you choose. Choose a domain or subdomain that has no other website. If it is not on the web hosting yet, add it first. See Add the domain in cPanel. You create a subdomain the same way. Enter blog.example.com in the domain field, for example.
How to
Section titled “How to”cPanel shows the language set for the hosting account. If it shows Swedish, Select a domain for installation reads Välj en domän för installationen, Node.js Version reads Node.js-version, Install Ghost reads Installera Ghost and Existing Ghost Installations reads Befintliga Ghost-installationer.
-
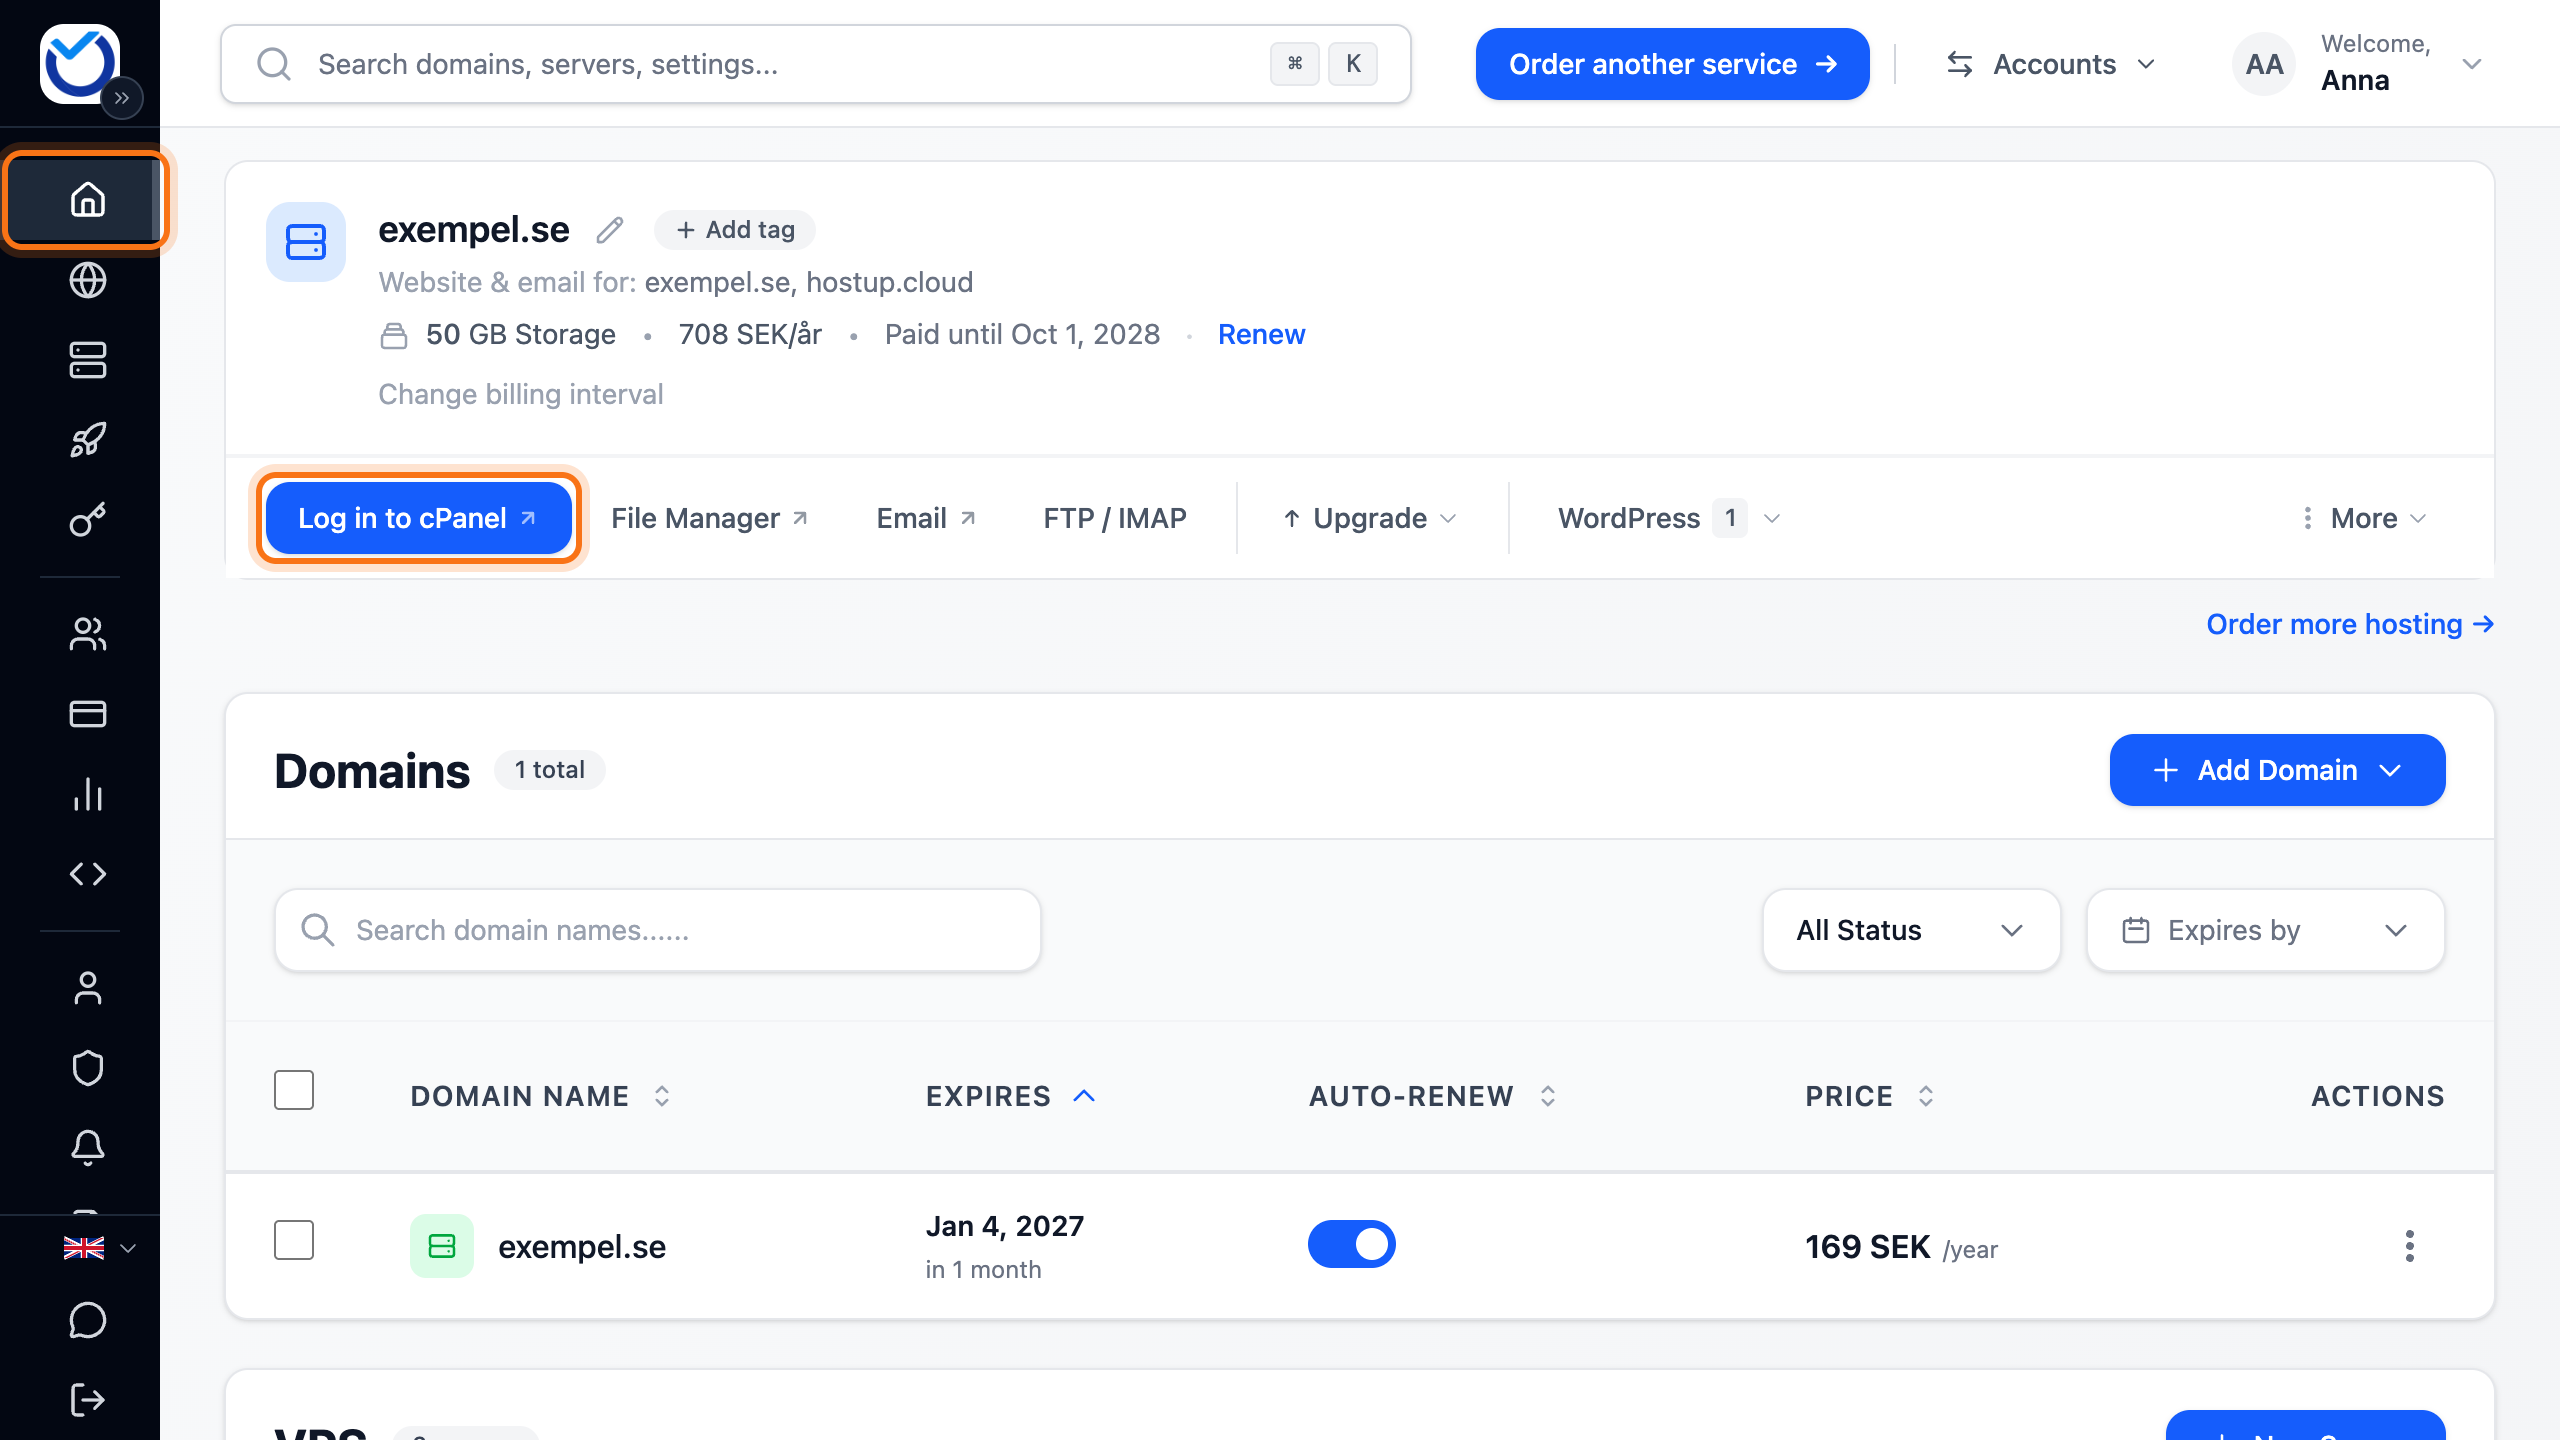
Go to the Dashboard and click Log in to cPanel on your web hosting. cPanel opens in a new tab and you are already logged in. More about the login is in Log in to cPanel and find your FTP and email details.
-
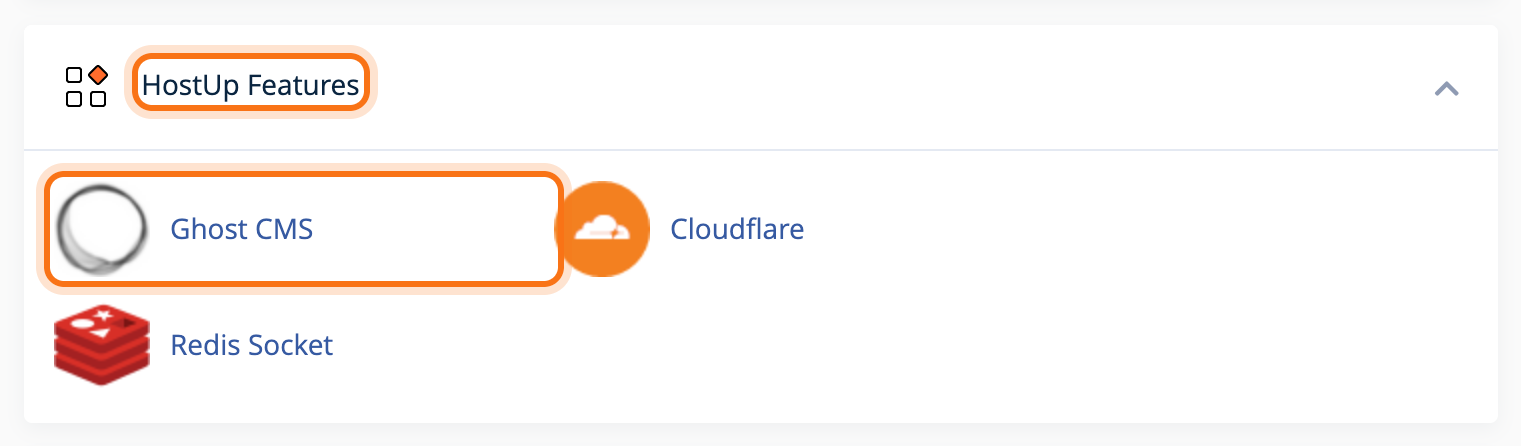
Click Ghost CMS in the HostUp Features group on the cPanel start page. The page that opens is called Ghost Manager.
-
Choose the domain under Select a domain for installation in the Create a New Ghost Installation box on the cPanel page. A domain that already has Ghost cannot be chosen.
-
Leave Node.js Version on the cPanel page at 22. Ghost 6 is then installed. With 20, Ghost 5 is installed.
-
Click Install Ghost in cPanel and confirm in the box your browser shows. The installation takes a couple of minutes. The page does not respond meanwhile. Keep the tab open until the page has reloaded.
-
Read the message at the top of the cPanel page. It says that Ghost was installed, which version it is and what the database is called. Under Existing Ghost Installations, your domain is listed with the status Running.
-
Click the shield (View Admin) on the domain’s row. The Ghost admin page opens on your domain under /ghost/. The first time, you create your Ghost account there.
If the installation does not go through, the message at the top of the page says so. The page then removes what it had created: the app, the folder and the database. You can try again with the same folder name. A log is in the file ghost_install.log in the home directory of the web hosting.
Update Ghost
Section titled “Update Ghost”- Open the Ghost CMS page in cPanel as in steps 1 and 2.
- Click the cloud with the arrow (Update Ghost) on the domain’s row and confirm. Ghost is updated to the newest version web hosting runs. The page does not respond until the update is done.
Uninstall Ghost
Section titled “Uninstall Ghost”- Open the Ghost CMS page in cPanel as in steps 1 and 2.
- Click the bin (Uninstall Ghost) on the domain’s row. Your browser asks whether you are sure. Confirm if you want to delete everything.
Good to know
Section titled “Good to know”- The domain’s row also has the buttons Start App, Stop App and Restart App. If the website does not respond, click Restart App.
- The folder Ghost is installed in is shown under Advanced Options. The name is already filled in. If you change it, it can only contain letters, numbers and hyphens.
- The Automatisk Databasövervakning box (automatic database monitoring) is turned on when you install Ghost. It unlocks the Ghost database if it has got stuck after an update or an interruption. Leave it active.
- You can have Ghost on several domains on the same web hosting, with one installation per domain.
- Ghost CMS is in cPanel. If your web hosting is on our older platform, first ask for the free move to cPanel. To do that, open a ticket.