
Turn on Redis on your web hosting for WordPress
Checked against the client area 11 November 2026
Your web hosting can run its own Redis. WordPress then keeps answers from the database in memory between page views. WordPress calls this a persistent object cache. You start Redis in cPanel on the Redis Socket page. The same page connects your WordPress site to Redis with two buttons. You do not enter an address, a port or a password.
If you use another application than WordPress, read Connect another application than WordPress.
Open your web hosting in the client area
How to
Section titled “How to”cPanel shows the language set for the hosting account. If it shows Swedish, Start Redis reads Starta Redis, Select WordPress Installation reads Välj WordPress-installation, 1. Configure wp-config.php reads 1. Konfigurera wp-config.php, 2. Install & Activate Plugin reads 2. Installera & Aktivera Plugin and Stop Redis reads Stoppa Redis.
-
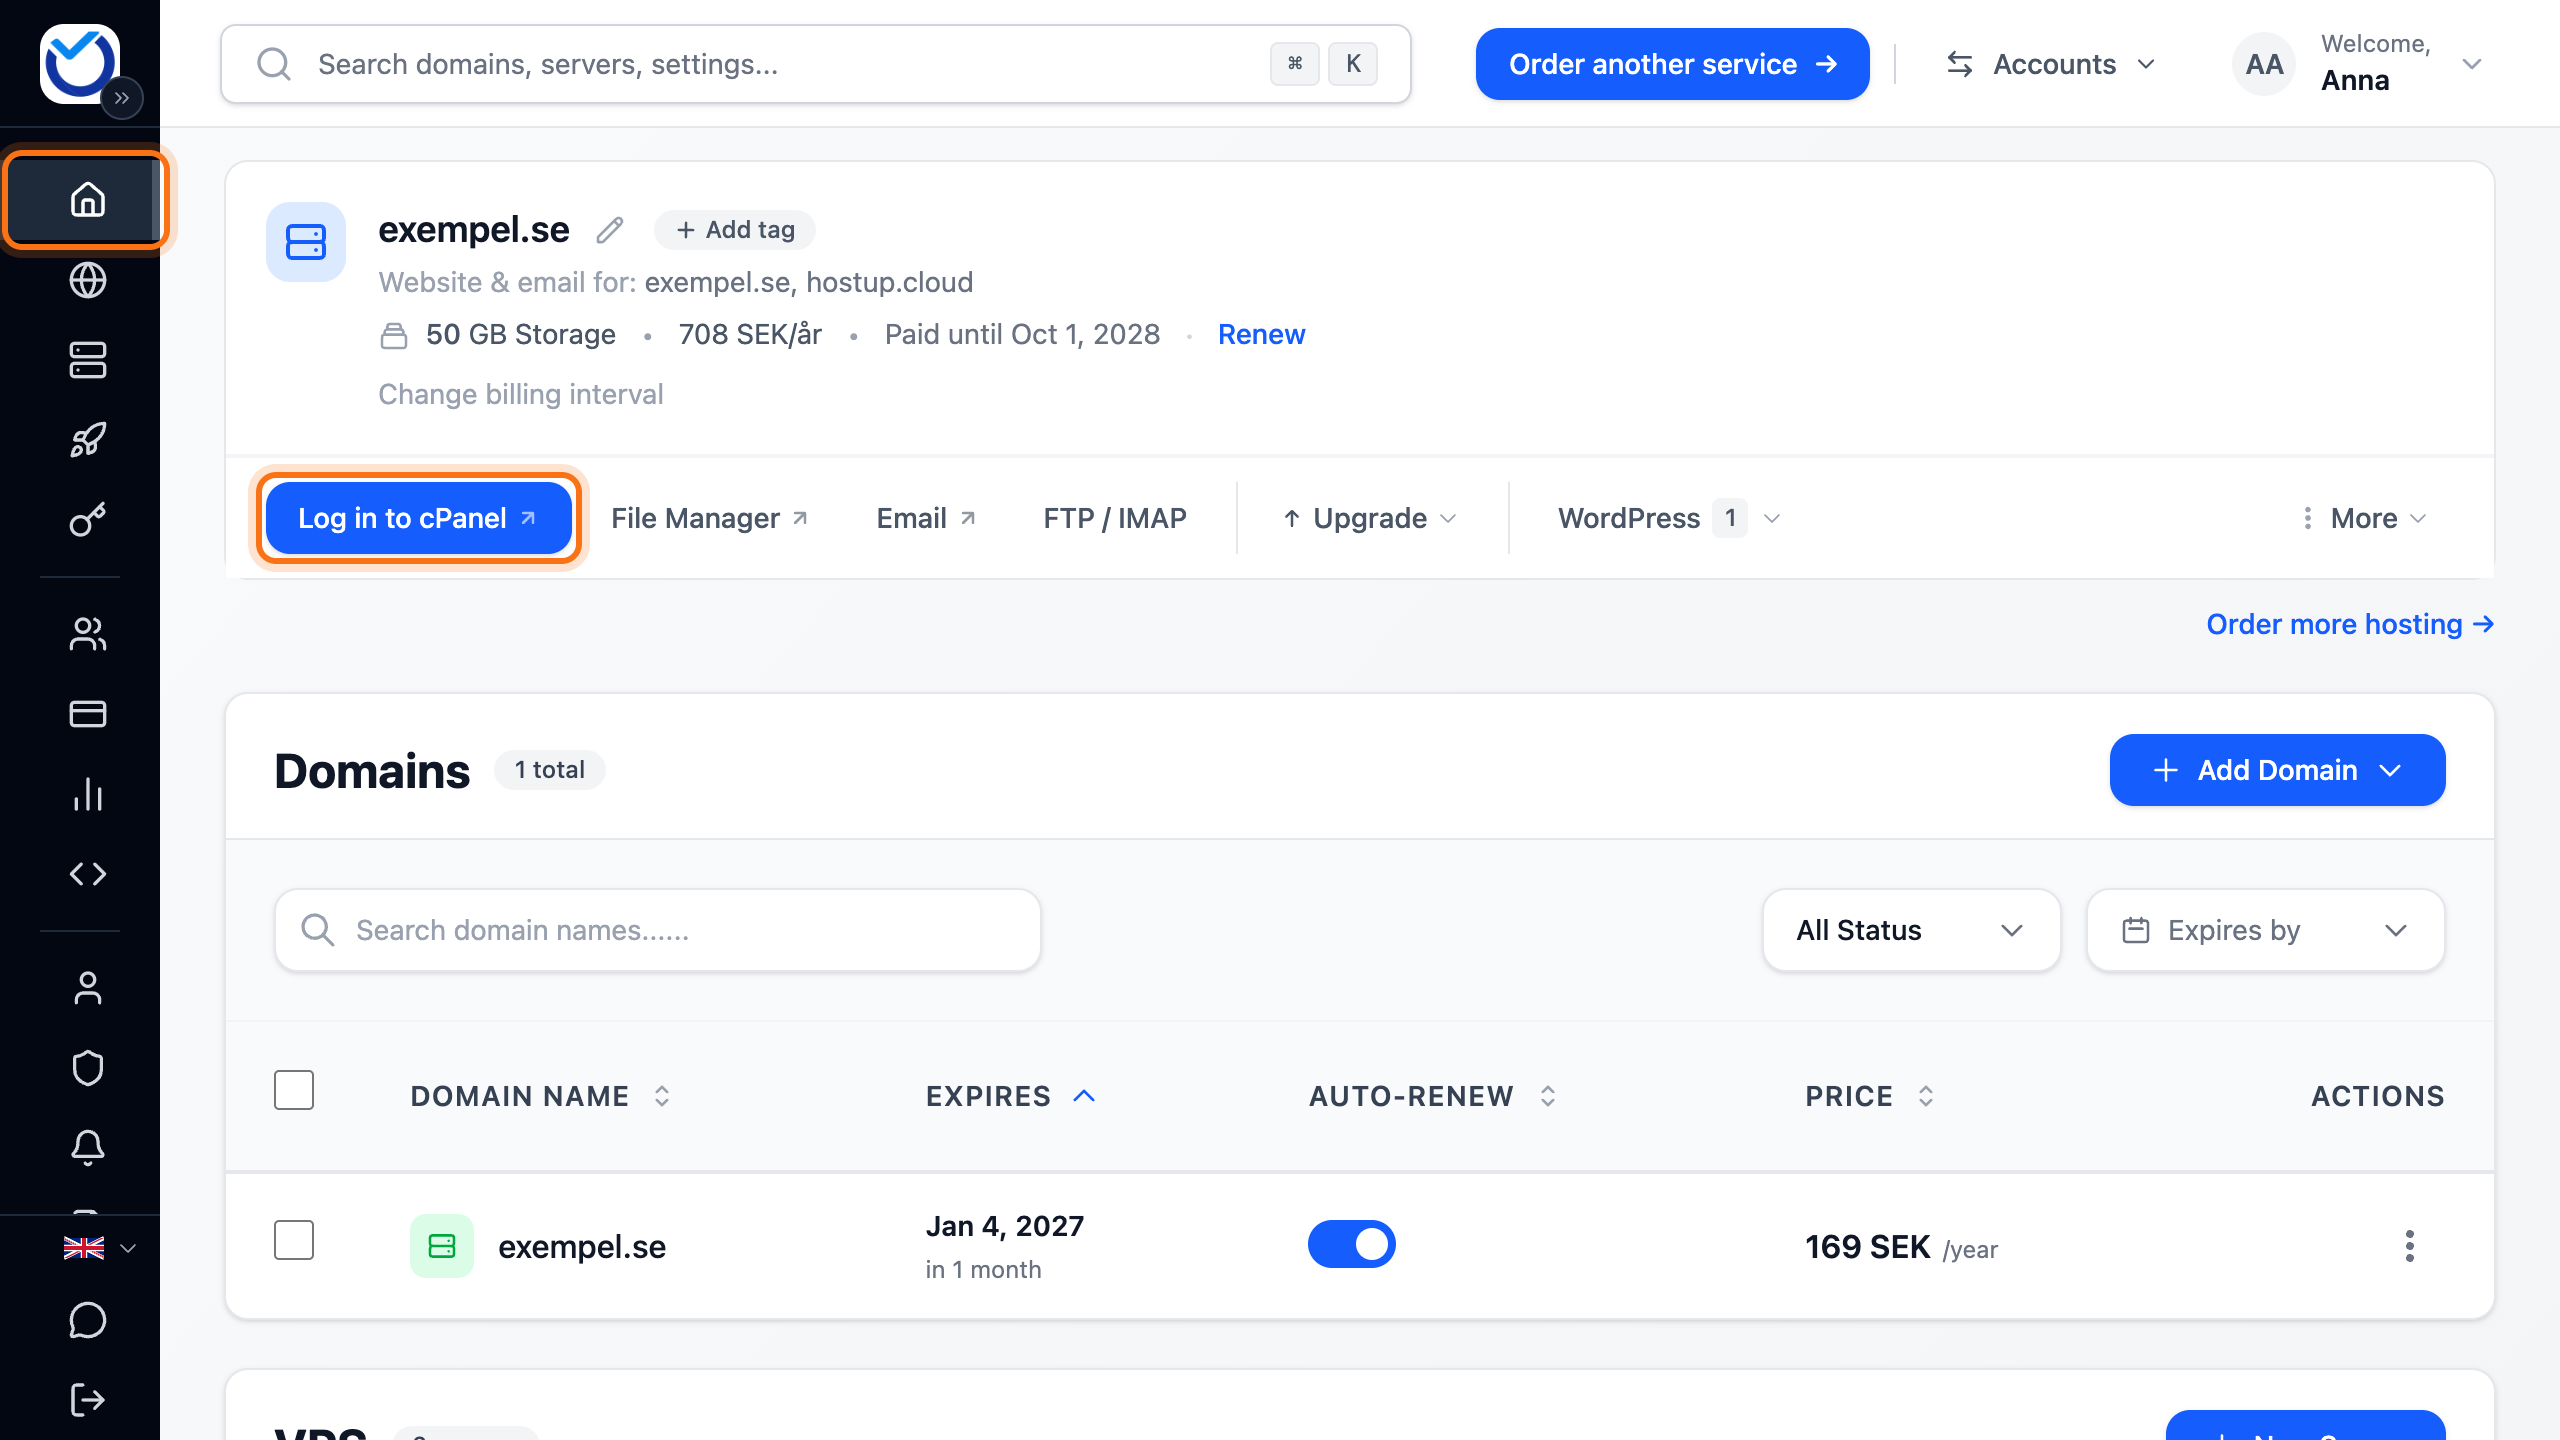
Go to the Dashboard and click Log in to cPanel on your web hosting. cPanel opens in a new tab and you are already logged in. More about the login is in Log in to cPanel and find your FTP and email details.
-
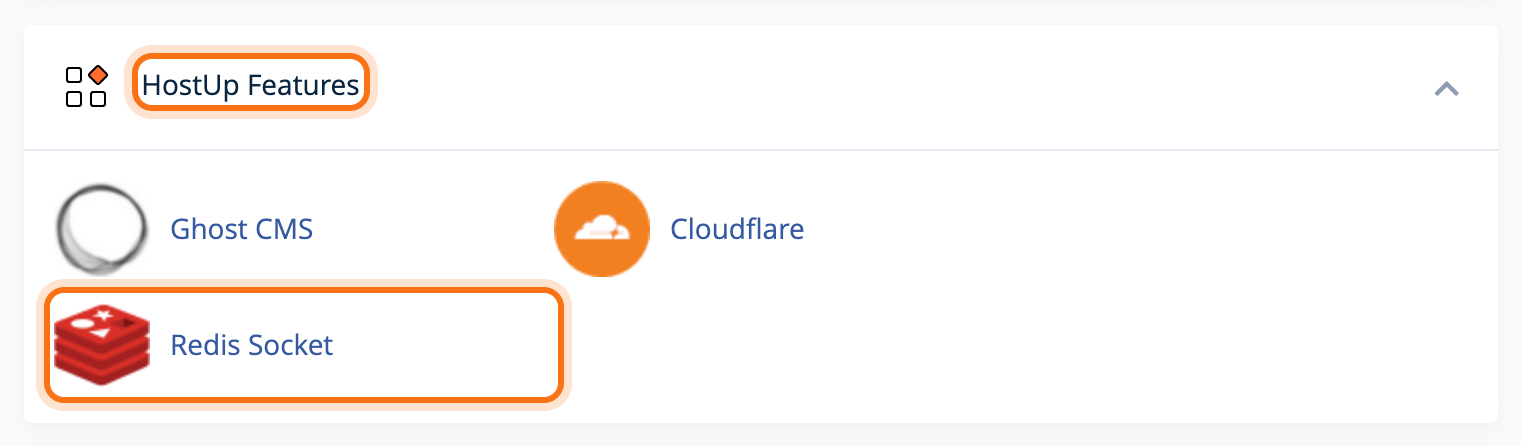
Click Redis Socket in the HostUp Features group on the cPanel start page. The page that opens is called Redis Cache Manager.
-
Click Start Redis in the Redis Status & Control box on the cPanel page. After a few seconds, Redis Status says RUNNING. The button then says Stop Redis.
-
Go to the WordPress Integration box on the same cPanel page. Choose your site under Select WordPress Installation. The list shows each site with its domain and folder.
-
Click 1. Configure wp-config.php in cPanel. The button writes the path to Redis into the site’s wp-config.php. The button then says 1. wp-config.php OK.
-
Click the second button on the cPanel page, 2. Install & Activate Plugin. It installs the Redis Object Cache plugin in WordPress and turns on the object cache. If the plugin is already there, the button says 2. Activate Plugin or 2. Try wp redis enable. Click it then.
-
Read the lines under Detailed status for selected installation on the cPanel page. The site uses Redis when they say wp-config.php: OK, Redis Object Cache Plugin: Active and Redis Cache: Connected. The second button then says 2. Redis Plugin & Cache OK.
If you have several WordPress sites on the web hosting, do steps 4 to 7 for each of them.
What happens next
Section titled “What happens next”After each click, the page shows a message about what was done. If a step did not go through, the message says why.
You can also make the connection yourself. The page shows the lines that go into wp-config.php. Then install the Redis Object Cache plugin in WordPress and click Enable Object Cache under Settings > Redis. If you connect more than one site this way, give each site its own WP_REDIS_PREFIX in wp-config.php. The button in step 5 does that for you.
Connect another application than WordPress
Section titled “Connect another application than WordPress”Start Redis as in steps 1 to 3. The page then shows the path to Redis after Socket, for example /home/username/.redis/redis.sock. Enter that path in the application’s Redis settings.
Redis does not listen on a port. Details such as 127.0.0.1 and port 6379 do not work. The application must be able to connect to a Unix socket. No password is needed. The path can only be reached from your own web hosting.
If the application needs the redis PHP extension, turn it on in cPanel under Select PHP Version, on the Extensions tab.
Stop Redis
Section titled “Stop Redis”- If a WordPress site uses Redis, first turn off the object cache in WordPress under Settings > Redis. The page in cPanel does not change wp-config.php and does not remove the plugin. Otherwise the site tries to connect to a Redis that is not running.
- Click Stop Redis on the Redis Socket page in cPanel.
What was in the cache is gone. Nothing else on the site is removed. If you start Redis again, it has the same path as before and starts empty.
Good to know
Section titled “Good to know”- Redis has 256 MB of memory. When the memory is full, what was used least recently is removed first.
- Redis is only a cache here. Nothing is saved to disk. After a restart the cache is empty and WordPress fills it again by itself. Do not put anything in Redis that has to last.
- If Redis stops, it is started again within five minutes. A job that the page adds under Cron Jobs in cPanel does this. Leave the job in place.
- All WordPress sites on the web hosting share the same Redis. Each site gets its own prefix and they do not mix. If you flush the cache from one site, it is emptied for all of them.
- The list in step 4 shows WordPress installed directly in a domain’s folder. If WordPress is in a subfolder, the site is not in the list. Then add the lines to wp-config.php yourself.
- Redis Socket is in cPanel. If your web hosting is on our older platform, first ask for the free move to cPanel. To do that, open a ticket.